
Ceiling Fan Installation: Do It Yourself or Leave It to the Pros?
Installing a ceiling fan can seem like a straightforward task, but there’s a lot more going on behind the scenes than just attaching some blades and flipping a switch. Whether you’re aiming to cut costs or just enjoy the satisfaction of a job well done, the big question is this: should you install it yourself or call in a professional?
We’ll break down the benefits, risks, costs, and key considerations to help you decide the best path forward. After all, the right decision can mean the difference between a cool, relaxing breeze and a frustrating (or dangerous) electrical mishap.
Understanding Ceiling Fan Installation Basics
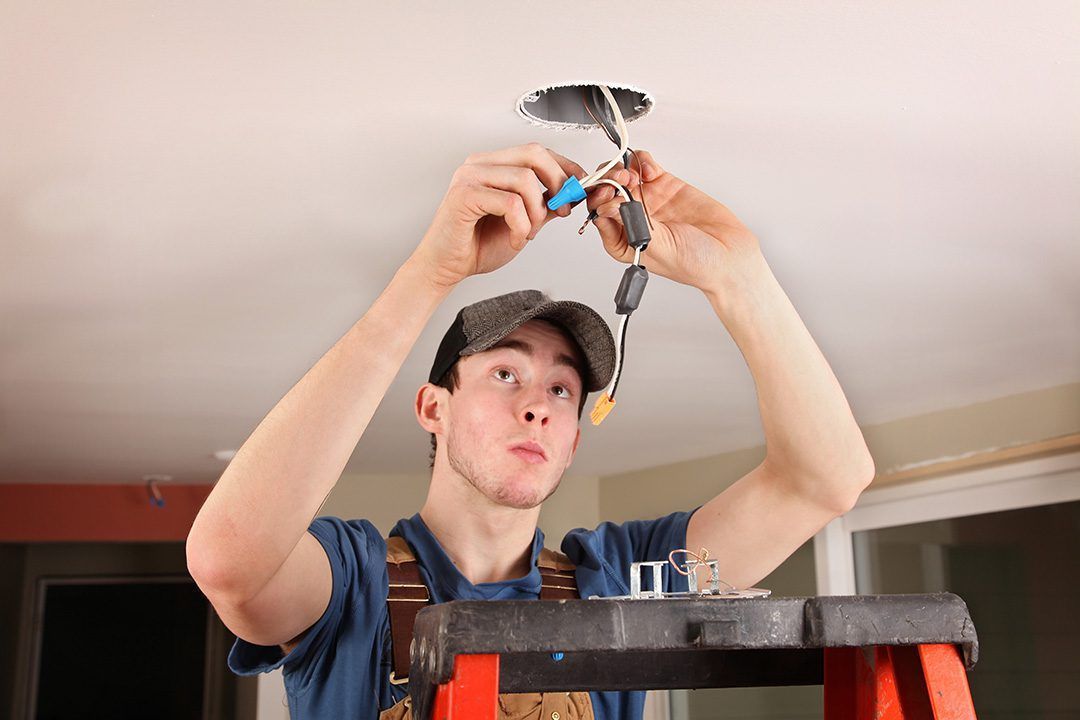
Before diving into the DIY vs. pro debate, it’s essential to understand what installing a ceiling fan actually involves. It’s not just mechanical — it’s also deeply electrical. A basic installation requires:
- Turning off power at the breaker
- Removing old light fixtures or fans
- Installing a UL-rated electrical box for ceiling fans
- Mounting the fan bracket
- Connecting wiring correctly (black to black, white to white, ground to ground)
- Assembling blades, motor housing, and light kits
- Testing the unit
Sounds simple? It is — if you know what you're doing. Otherwise, this list could become overwhelming fast.
Benefits of Installing a Ceiling Fan
Ceiling fans do more than just circulate air — they boost comfort and can even reduce your energy bill. Here’s why they’re such a popular choice:
- Energy Efficiency: Reduce the need for AC in warmer months and circulate warm air in the winter.
- Aesthetic Appeal: Modern fans come in stylish designs that enhance your interior.
- Better Air Circulation: Helps in rooms with poor airflow or stagnant corners.
- Lighting: Many fans come with integrated lighting features.
They’re cost-effective and functional — no wonder everyone wants one in every room!
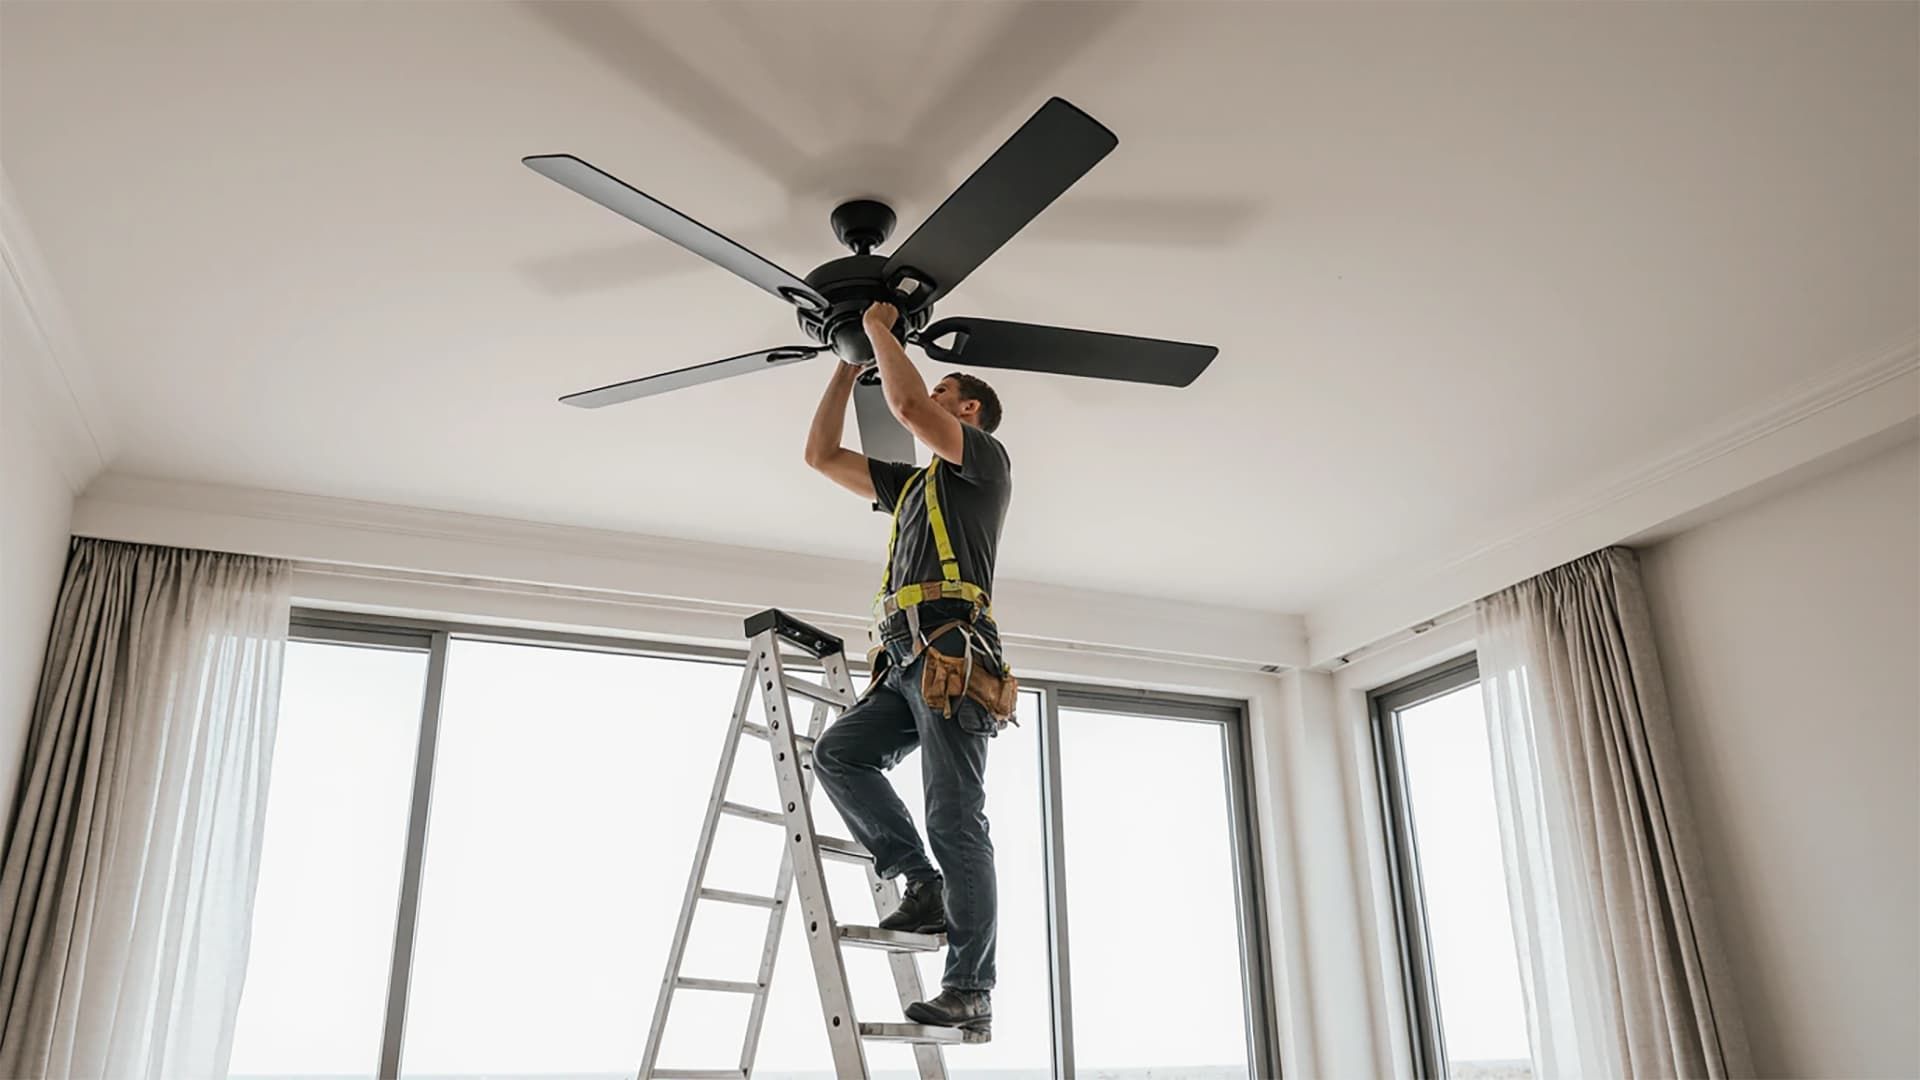
DIY Ceiling Fan Installation: What to Expect
Going the DIY route can be rewarding. If you're comfortable working with basic electrical wiring and you’ve got the tools, it may be a task within reach. Here’s a rough breakdown:
- Turn off power at the circuit breaker.
- Remove existing fixture or light.
- Install a fan-rated electrical box.
- Mount the ceiling plate securely.
- Wire the fan according to the manual.
- Assemble and secure the fan.
- Test the fan before finalizing.
But remember, skipping even one step (or doing it wrong) can lead to poor performance — or dangerous results.
Essential Tools for DIY Installation
For a smooth experience, keep these tools handy:
- Voltage tester
- Screwdrivers (Phillips and flat-head)
- Wire strippers
- Electrical tape
- Ceiling fan mounting bracket
- Ladder or scaffolding
- Drill and drill bits
- Pliers
Also, patience. Lots of patience.
Safety Considerations When Installing a Ceiling Fan
Electricity isn’t something to take lightly. Before attempting a DIY install, ask yourself:
- Do I know how to safely shut off power?
- Am I confident identifying wiring types?
- Do I have a secure way to work at height?
- What will I do if the fan doesn’t work after installation?
Mistakes with electrical wiring can lead to serious injuries or even house fires. If you're unsure, it's safer to consult a licensed provider of Electrical Service.
Top Mistakes Homeowners Make During DIY Installation
Some common (and avoidable) pitfalls include:
- Using a non-rated electrical box
- Mismatching wires
- Forgetting to ground the fan
- Not tightening fan blades properly
- Skipping instruction manuals
A wobbly fan or flickering light isn’t just annoying — it’s a sign something’s wrong.
Signs You Shouldn’t Attempt DIY Installation
You may be tempted to try, but consider calling a pro if:
- Your ceiling has no existing light fixture
- You don’t know your home's wiring layout
- The fan is heavy or oversized
- You're uncomfortable on ladders
- You’ve never done electrical work before
Remember, safety always comes first.
How Professional Electricians Handle Ceiling Fan Installation
Pros bring more than just tools — they bring know-how. A licensed electrician will:
- Ensure your circuit can handle the load
- Upgrade wiring if needed
- Mount the fan safely to code
- Test connections for safety and functionality
- Guarantee their work
Looking for pros you can trust? Reach out via their Contact page for fast, friendly help.
Benefits of Hiring a Licensed Electrician
The advantages are clear:
- Expertise: No guesswork — just precision.
- Efficiency: Get it done in under an hour.
- Peace of Mind: No worrying about fire hazards or faulty wiring.
- Warranties: Many pros offer service guarantees.
- Compliance: Stay in line with local building codes.
Cost Comparison: DIY vs. Professional Installation
Let’s talk dollars.
Task DIY Pro Installation
Tools & materials $50 - $100 Included
Time 2-4 hours 30-60 minutes
Stress level High Low
Total Cost $50 - $150 $100 - $250
While DIY might seem cheaper, a mistake could cost you much more down the road.
Time Investment: Is DIY Worth the Weekend?
If it’s your first time, expect to spend most of the afternoon figuring things out. You’ll need time to:
- Watch tutorials
- Make multiple trips to the hardware store
- Troubleshoot wiring issues
- Reinstall loose parts
Hiring a professional often means same-day service and a job done right — no weekend sacrificed.
Common Ceiling Fan Wiring Scenarios
Every home setup is different. Some common types include:
- Single Switch: One switch controls both light and fan.
- Dual Switch: Separate controls for light and fan.
- Remote Controlled: No switch needed — wireless control.
- Pull Chain Only: Traditional fans, mostly in older homes.
Incorrect wiring here can lead to confusing switch behavior or no power at all.
When Ceiling Fan Installation Requires Electrical Service
You may need professional Electrical Service if:
- No existing wiring is present
- You’re upgrading your circuit
- Your breaker keeps tripping
- Your electrical panel is outdated
- Local building code requires a permit
In these cases, it’s best not to risk it.
How to Choose the Right Electrician for the Job
Look for someone who is:
- Licensed and insured
- Well-reviewed by local homeowners
- Transparent about pricing
- Experienced in ceiling fan installs
- Responsive to questions and concerns
You can start by visiting this Contact page.
Ceiling Fan Troubleshooting After Installation
What if your fan:
- Wobbles?
- Makes noise?
- Won’t turn on?
Check blade balance, tighten all screws, and verify the wiring. Still having issues? That’s another reason to call a professional and avoid further damage.
FAQs about Ceiling Fan Installation
Can I install a ceiling fan without existing wiring?
Yes, but it requires new wiring — best done by a licensed electrician.
Is installing a ceiling fan dangerous?
It can be if you’re not familiar with electrical safety or wiring.
How long does it take to install a ceiling fan?
A pro can do it in 30–60 minutes. DIY may take a few hours.
What kind of electrical box is needed for a ceiling fan?
A UL-listed, fan-rated ceiling box that can support the fan’s weight.
Do all ceiling fans need to be grounded?
Yes. Grounding is essential for safety and proper operation.
Is it okay to install a ceiling fan where a light fixture was?
Yes, but only if the box is rated to support a fan's weight and movement.
Conclusion
So, Ceiling Fan Installation: Do It Yourself or Leave It to the Pros? It comes down to your experience, comfort with electrical work, and how much time you’re willing to invest. For simple swaps and experienced DIYers, installing a fan may be an achievable weekend project. But for the rest of us, it’s probably best — and safest — to leave it to the pros.
When in doubt, don’t risk it. Hire a trusted electrician and enjoy your fan the same day — without the stress.
Links